

Best Travel Tips for Visa Application Process Guide
Best Travel Tips for Visa Application Process Guide
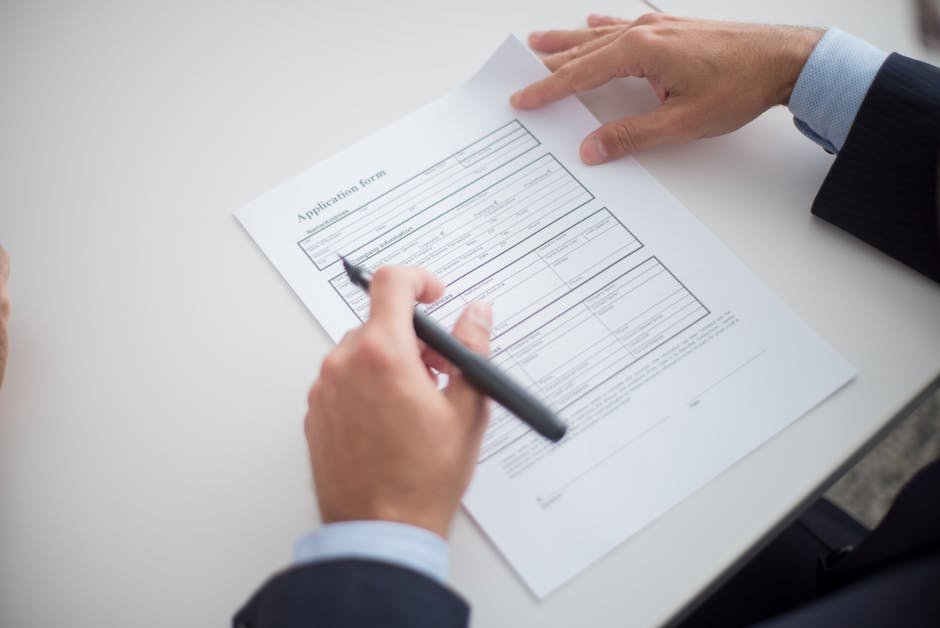
Applying for a travel visa can be stressful, but with the right preparation, it doesn’t have to be. This guide covers the essential steps, common pitfalls, and proven strategies to help you navigate the visa application process smoothly. Whether you’re traveling for tourism, business, or study, following these best practices increases your chances of approval and saves time.
Understand the Visa Type You Need
Not all visas are the same. The type you apply for depends on your travel purpose, destination, and length of stay. Tourist visas are common for short trips, while work or student visas require additional documentation.
For example, a U.S. B-2 visa is for tourism, while a Schengen visa allows travel across multiple European countries. Always verify the correct category with the embassy or consulate of your destination country.
Check Visa Requirements Early
Each country has unique requirements. Some need proof of accommodation, return tickets, or financial statements. Others require medical exams or police clearance certificates.
Start researching at least 8–12 weeks before your trip. Delays in gathering documents can push back your travel plans.
Gather Required Documents
Most visa applications require a standard set of documents. Missing even one can lead to rejection.
Common requirements include a valid passport, completed application form, passport-sized photos, travel itinerary, and proof of funds.
Passport Validity and Photo Guidelines
Your passport must be valid for at least six months beyond your intended stay. Some countries also require two blank pages for stamps.
Photos must meet specific standards—usually 2×2 inches, white background, no glasses or headwear. Follow the embassy’s photo guidelines exactly to avoid delays.
Financial Proof and Bank Statements
You’ll need to show you can support yourself during your trip. This usually means recent bank statements, pay stubs, or a sponsorship letter.
A typical requirement is showing at least $50–$100 per day of travel. For longer stays, provide 3–6 months of statements.
Complete the Application Form Accurately
Most countries offer online visa applications. Fill out every section carefully and double-check for errors.
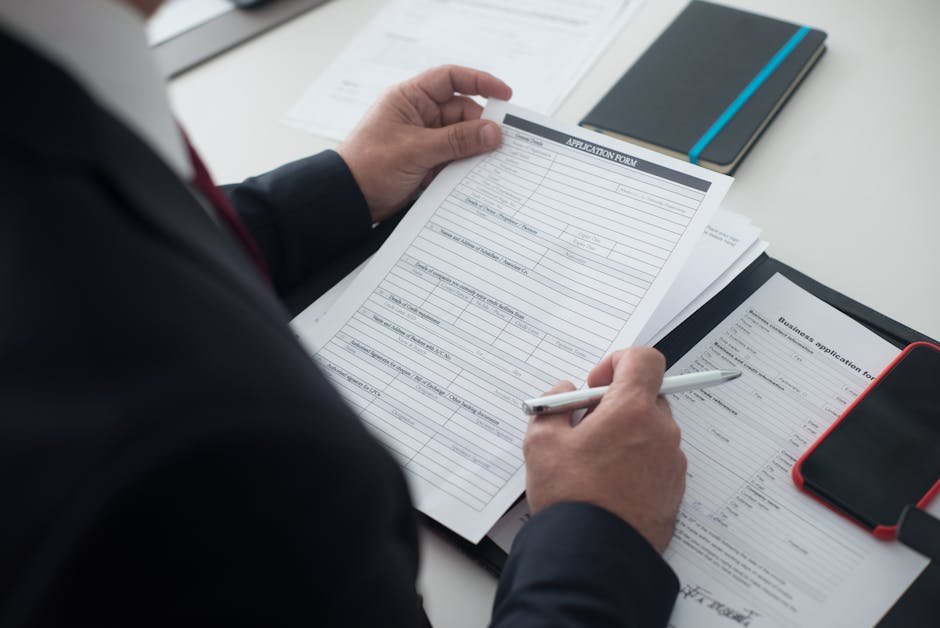
Even small mistakes—like a typo in your name or birthdate—can cause delays or denial. Use your passport details exactly as they appear.
Be Honest and Consistent
Lying on your application is a fast track to rejection and possible future bans. If you’ve been denied a visa before, disclose it.
Consistency matters. Your application, interview answers, and supporting documents should all tell the same story.
Schedule Your Appointment Early
Many embassies and visa processing centers require in-person appointments. Slots fill up quickly, especially during peak travel seasons.
Book your appointment as soon as you’re ready to apply. In some countries, wait times can exceed a month.
Prepare for the Visa Interview
Not all visas require interviews, but many do—especially for long-term or work visas. Practice answering common questions clearly and confidently.
Expect questions about your travel plans, employment, and ties to your home country. Bring originals of your documents, even if you submitted copies online.
Pay the Visa Fee Correctly
Visa fees vary by country and visa type. Payment methods also differ—some accept online payments, others require bank drafts or cash at the embassy.
Fees are usually non-refundable, even if your application is denied. Confirm the exact amount and payment method on the official embassy website.
Avoid Common Application Mistakes
Many applicants make avoidable errors that lead to rejection. Knowing what to avoid can save you time and money.
Submitting Incomplete Applications
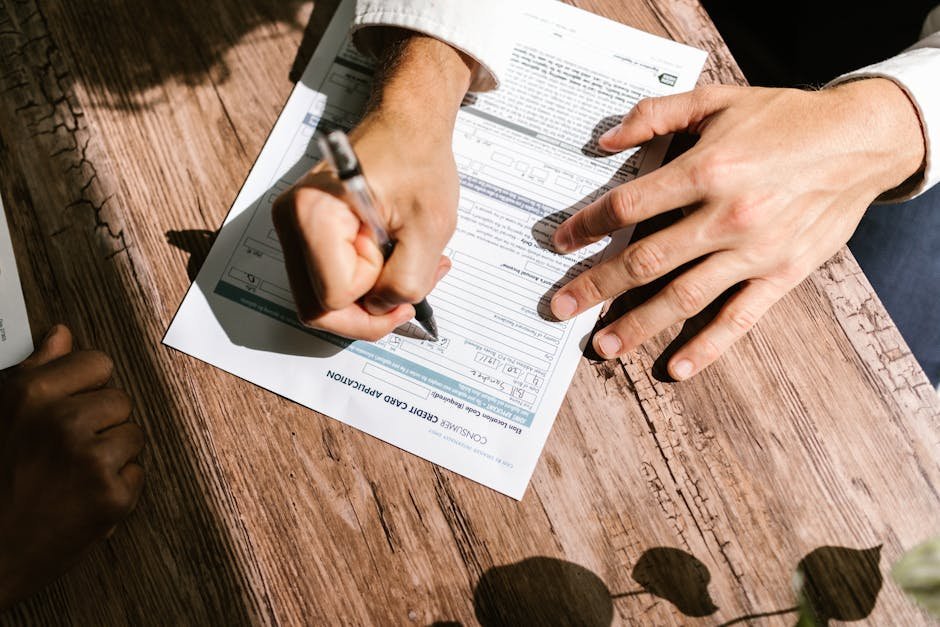
Double-check that all required documents are included. Use the embassy’s checklist. Missing a single form can halt your application.
Applying Too Late
Processing times vary from a few days to several weeks. Apply early to allow for unexpected delays.
For example, U.S. tourist visas can take 2–4 weeks, while some student visas take 8 weeks or more.
Ignoring Country-Specific Rules
Each country has quirks. Japan requires a detailed daily itinerary. Australia may ask for proof of health insurance. Research thoroughly.
Use Trusted Resources and Services
Only use official government websites for visa information. Avoid third-party sites that charge extra fees or provide outdated advice.
Embassy websites end in .gov or .gc.ca (for Canada), .gov.au (Australia), etc. Bookmark the correct site and check it regularly for updates.
Consider a Visa Consultant (If Needed)
For complex cases—like work visas or previous denials—a certified immigration consultant can help. But be cautious of scams.
Only hire professionals registered with official bodies, such as the Immigration Consultants of Canada Regulatory Council (ICCRC).
Track Your Application Status
Most countries offer online tracking tools. Use your reference number to monitor progress.
If there’s no update after the stated processing time, contact the embassy politely. Keep records of all communications.
Plan for Possible Delays or Denials
Even well-prepared applications can face delays. Have a backup plan for your travel dates.
If denied, request a written explanation. Some countries allow appeals or reapplication after addressing the issues.
Understand Denial Reasons
Common reasons include insufficient funds, weak ties to home country, or incomplete documentation.
For instance, if you’re a student with no job, showing family sponsorship and enrollment proof can strengthen your case.
Prepare for Arrival and Entry
Having a visa doesn’t guarantee entry. Border officials may ask questions upon arrival.
Carry printed copies of your itinerary, hotel bookings, return ticket, and proof of funds. Be ready to explain your travel purpose clearly.
Know the Rules of Your Destination
Some countries restrict activities on tourist visas—like working or volunteering. Violating terms can lead to deportation.
Check local laws on photography, dress codes, or public behavior to avoid fines or legal trouble.
Final Checklist Before Applying
Before submitting, run through this quick checklist:
- Passport valid for 6+ months
- Completed application form
- Correct visa fee paid
- All required documents gathered
- Appointment scheduled (if needed)
- Photos meet specifications
- Travel insurance (if required)
FAQ
How long does it take to process a visa application?
Processing times vary by country and visa type. Tourist visas typically take 5–15 business days, while student or work visas can take 4–8 weeks. Always check the embassy’s current processing times before applying.
Can I apply for a visa without an appointment?
Most countries require appointments for visa submission. Walk-ins are rarely accepted. Schedule yours early through the official visa application center or embassy website.
What should I do if my visa is denied?
Request a written explanation of the denial reason. Address the issues—such as providing stronger financial proof or clarifying travel intent—and reapply when ready. Some countries allow appeals within a set timeframe.