

Travel Tips for Airport Security Fast Check-In Guide
Travel Tips for Airport Security Fast Check-In Guide
Navigating airport security doesn’t have to be stressful. With the right preparation, you can breeze through checkpoints and save valuable time before your flight. This guide covers practical travel tips for airport security fast check-in, helping you avoid common delays and streamline your journey from curb to gate. Whether you’re a frequent flyer or traveling for the first time, these strategies will help you move through security efficiently and with confidence.
Why Airport Security Check-In Matters
Airport security is a necessary step in air travel, designed to keep passengers safe. However, it’s often the most time-consuming part of getting to your gate. Delays at security can lead to missed flights, added stress, and unnecessary expenses. Understanding how the process works and preparing in advance can significantly reduce wait times and improve your overall travel experience.
Security lines vary by airport, time of day, and season. Peak travel periods—such as holidays, summer vacations, and early mornings—typically see longer queues. Being aware of these patterns helps you plan your arrival time accordingly. Arriving at least two hours before a domestic flight and three hours before an international one gives you a buffer for unexpected delays.
Prepare Your Documents in Advance
Keep Your ID and Boarding Pass Accessible
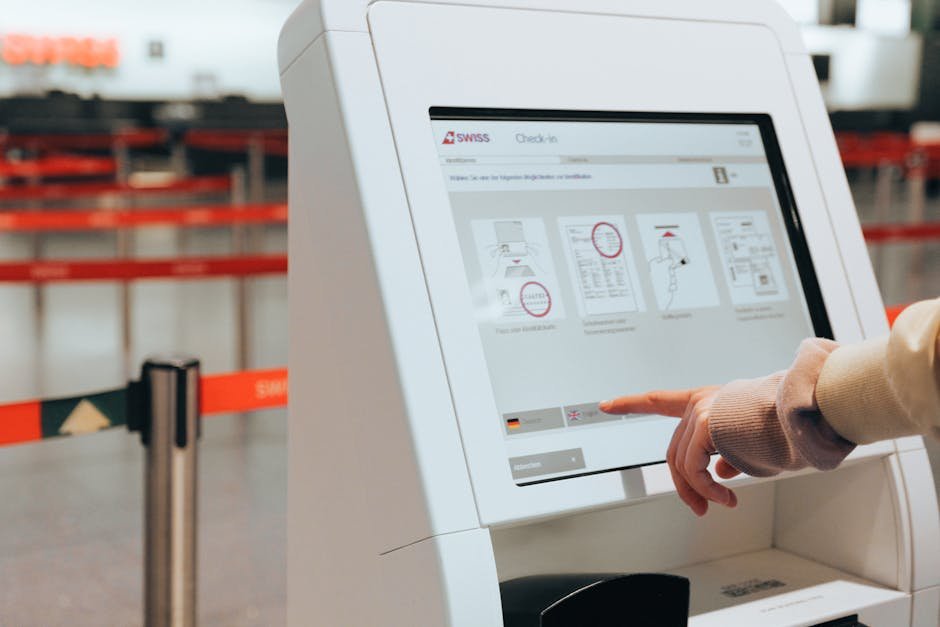
Your government-issued photo ID and boarding pass are the first items security agents will request. Keep them together in a dedicated pocket of your carry-on or in a clear document holder. This prevents fumbling through bags and speeds up the initial checkpoint.
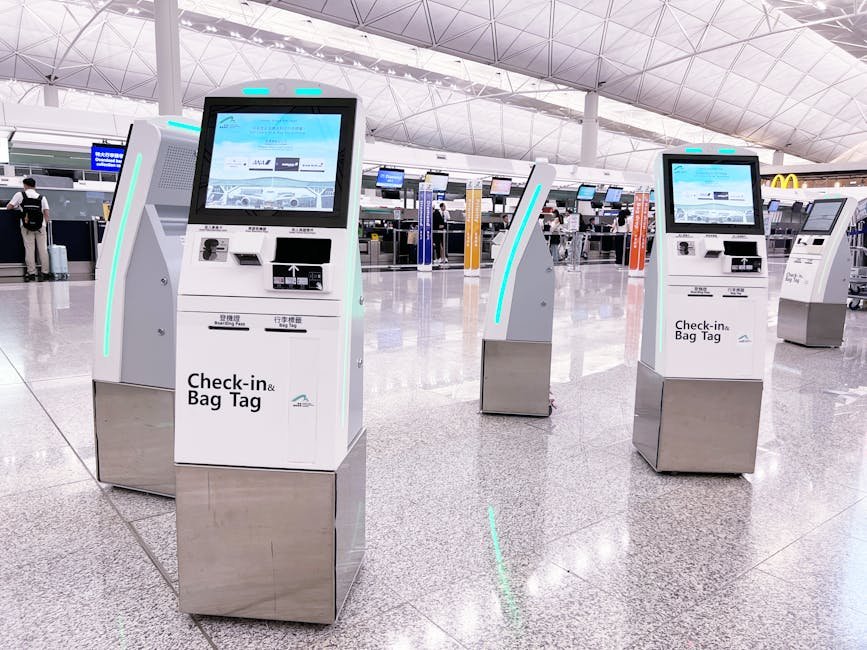
Digital boarding passes on your phone are widely accepted, but ensure your device is charged. If your phone dies, you may need to retrieve a printed copy from a kiosk, which adds time. Always have a backup plan.
Know TSA Requirements for Identification
In the U.S., the TSA requires a REAL ID-compliant driver’s license or another approved form of identification for domestic flights. Starting in 2025, standard licenses without the REAL ID star will no longer be accepted. Check your state’s DMV website to confirm your ID status before traveling.
International travelers should carry a valid passport. Some countries also require visas or entry forms completed in advance. Double-check entry requirements for your destination at least a week before departure.
Pack Smart to Avoid Delays
Follow the 3-1-1 Rule for Liquids
The 3-1-1 rule is a cornerstone of airport security: each passenger may carry one quart-sized clear plastic bag containing liquids, aerosols, gels, creams, and pastes in containers no larger than 3.4 ounces (100 milliliters). This includes items like toothpaste, shampoo, and hand sanitizer.
Place the bag in a visible part of your carry-on so it can be easily removed for screening. If your liquids exceed the limit or aren’t in a clear bag, they may be confiscated. For example, a full-sized bottle of sunscreen or a large jar of moisturizer will not pass through security.
Limit Electronics in Carry-Ons
Laptops, tablets, and large cameras must be removed from your bag and placed in a separate bin during screening. To speed up the process, pack these items in an easily accessible outer pocket. If you’re carrying multiple devices, consider using a tech organizer to keep them together.
Smaller electronics like phones and e-readers usually stay in your bag, but policies can vary by airport. When in doubt, check the TSA website or ask an agent. Avoid packing loose cables or batteries in checked luggage, as they can pose fire risks.
Avoid Prohibited Items
Know what you can’t bring. Common prohibited items include sharp objects like scissors, tools, and sporting goods. Firearms and ammunition must be declared and packed in checked baggage according to airline and TSA rules. Even items that seem harmless—like snow globes or certain food items—may be restricted.
When in doubt, use the TSA’s “Can I Bring?” tool online. It allows you to search specific items and get real-time guidance. Packing prohibited items not only causes delays but can also result in fines or additional screening.
Choose the Right Carry-On Strategy
Opt for a TSA-Friendly Bag Design
Some carry-on bags are designed with security in mind. Look for models with a dedicated laptop compartment that opens flat, making it easier to remove devices without unpacking everything. Bags with clear, labeled sections help you stay organized and reduce time spent searching for items.
Avoid overpacking. A cluttered bag makes it harder to find what you need and increases the chance of triggering additional screening. Roll clothes instead of folding to save space and reduce wrinkles.
Consider a Personal Item Instead of a Full Carry-On
If your trip is short, consider traveling with just a personal item like a backpack or small duffel. This eliminates the need to gate-check your bag and reduces time spent at baggage claim. Personal items must fit under the seat in front of you, so measure your bag before leaving home.
Many budget airlines charge extra for carry-on bags, so traveling light can also save money. Just ensure your personal item has enough space for essentials like your ID, phone, medications, and a change of clothes in case of delays.
Dress for a Smooth Security Experience
Wear Easy-to-Remove Shoes
You’ll need to remove your shoes during screening unless you’re enrolled in TSA PreCheck. Choose slip-ons or shoes with quick-release laces to speed up the process. Avoid boots or shoes with multiple straps unless necessary.
Wear socks—even in warm weather. Walking through the security area barefoot is unhygienic and may slow you down if you need to put shoes back on quickly. Compression socks are a good option for long flights and won’t raise red flags.
Minimize Metal on Your Body
Metal detectors and body scanners are sensitive to jewelry, belts, watches, and underwire bras. Remove these items before approaching the checkpoint to avoid secondary screening. Place them in a bin with your shoes and electronics.
If you wear medical devices like insulin pumps or pacemakers, inform the TSA agent before screening. You may need to undergo alternative screening procedures. Carry a doctor’s note if recommended by your healthcare provider.
Leverage Expedited Security Programs
Enroll in TSA PreCheck
TSA PreCheck is a trusted traveler program that allows you to skip standard security lines at over 200 U.S. airports. Members keep their shoes, belts, and light jackets on, leave laptops and compliant liquids in their bags, and use a dedicated, faster-moving lane.
The application process includes an online form, background check, and in-person appointment for fingerprinting. The fee is $78 for five years, making it a worthwhile investment for frequent travelers. Approval typically takes a few weeks, so apply well in advance.
Consider CLEAR for Even Faster Access
CLEAR uses biometric technology—like fingerprint or iris scanning—to verify your identity and move you to the front of the security line. It works at major airports across the U.S. and can be used alongside TSA PreCheck for maximum efficiency.
A CLEAR membership costs $189 per year, with discounts available for Delta and United MileagePlus members. While not free, it’s ideal for business travelers or those who frequently fly during peak times. Note that CLEAR does not replace the security screening process—you’ll still need to go through X-ray and metal detection.
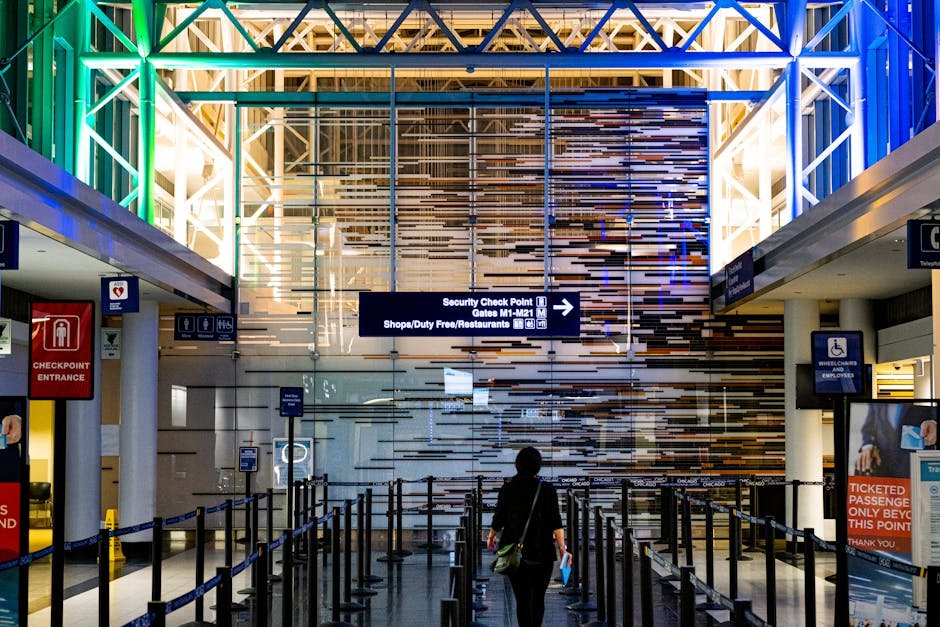
Know What to Expect at the Checkpoint
The Screening Process Step-by-Step
Security screening typically follows a standard sequence. First, you’ll present your ID and boarding pass to an agent. Then, you’ll place your belongings—including shoes, electronics, and liquids—into bins for X-ray scanning.
Next, you’ll walk through a metal detector or advanced imaging technology (AIT) scanner. If the alarm sounds, you’ll undergo a pat-down or additional screening. After clearing the checkpoint, collect your items and proceed to your gate.
Handling Secondary Screening
Even with perfect preparation, you might be selected for additional screening. This is random and doesn’t indicate suspicion. Stay calm and cooperative. Agents may inspect your bags more thoroughly or ask questions about your trip.
If you’re carrying medications, baby food, or medical supplies, inform the agent before screening. These items are allowed but may require separate inspection. Declare them proactively to avoid confusion.
Tips for Families and Special Circumstances
Traveling with Children
Children under 12 can usually stay with their parents during screening and don’t need to remove their shoes. Strollers and car seats must go through X-ray screening, so be prepared to fold and place them on the conveyor belt.
Pack snacks and activities in an easily accessible part of your bag. Security delays can be especially hard on young children, so having distractions ready helps keep them calm. Formula, breast milk, and juice are allowed in reasonable quantities but may be tested at the checkpoint.
Traveling with Medical Needs
If you rely on medical devices or medications, plan ahead. Bring enough supplies for your entire trip, plus extras in case of delays. Keep medications in their original packaging with labels intact.
Inform TSA agents about any implants, pumps, or mobility aids. You have the right to request a private screening if needed. The TSA Cares helpline (1-855-787-2227) can provide assistance up to 72 hours before your flight.
Airport-Specific Tips and Timing
Research Your Departure Airport
Not all airports are the same. Some have multiple security checkpoints, while others have a single main terminal. Check your airport’s website for maps, wait time estimates, and tips for navigating security.
For example, Denver International Airport has three security checkpoints, with the north one often less crowded. At Hartsfield-Jackson Atlanta, the main terminal checkpoint can be busy during rush hours. Knowing your options helps you choose the fastest route.
Use Real-Time Wait Time Tools
Several apps and websites provide live updates on security line wait times. The MyTSA app, for instance, shows current wait times at major U.S. airports. Airlines like Delta and United also offer this feature in their mobile apps.
Use this data to decide when to leave for the airport or which checkpoint to use. If you’re running late, a shorter line at a different entrance could save you 20 minutes or more.
Final Preparations Before You Leave Home
Do a Final Security Check
Before heading to the airport, do a quick review of your carry-on. Remove any forgotten liquids, check for loose batteries, and ensure your electronics are charged. Confirm your ID and boarding pass are accessible.
Set reminders on your phone for key tasks: “Remove shoes,” “Place liquids in bin,” “Turn off devices.” These small cues can prevent last-minute panic.
Stay Informed About Flight Status
Check your flight status the night before and again an hour before departure. Delays or gate changes can affect your timing. Sign up for airline alerts via text or email to get real-time updates.
If your flight is delayed, use the extra time to relax or grab a meal. If it’s on time, stick to your original plan and arrive with confidence.
FAQ: Common Airport Security Questions
Can I bring a water bottle through security?
Empty water bottles are allowed through security. Fill it up at a water fountain after the checkpoint to stay hydrated during your flight.
What happens if I forget to remove my laptop?
Your bag may be pulled aside for additional screening. Agents will ask you to remove the laptop and rescan your belongings, which can add 5–10 minutes to your wait.
Is TSA PreCheck worth the cost?
If you fly more than a few times a year, yes. The time saved and reduced stress make it a smart investment for frequent travelers.
Conclusion
Efficient airport security check-in starts long before you reach the terminal. By preparing your documents, packing wisely, dressing appropriately, and using trusted traveler programs, you can significantly reduce delays and stress. These travel tips for airport security fast check-in are designed to help you move through the process smoothly, whether you’re heading out on a business trip or a family vacation. With a little planning, your next flight can start with ease—not frustration.
Related keywords: Travel Tips for Airport Security Fast Check In Guide.